Workstation Configurator: How to Use It (A Complete Guide)
As businesses shift toward lean, customizable environments, the workstation configurator has become a critical tool for industrial, medical, and lab-based sectors. In this guide, we break down what workstation configurators are, how to use them, and why they're essential for B2B operations.
What Is a Workstation Configurator?
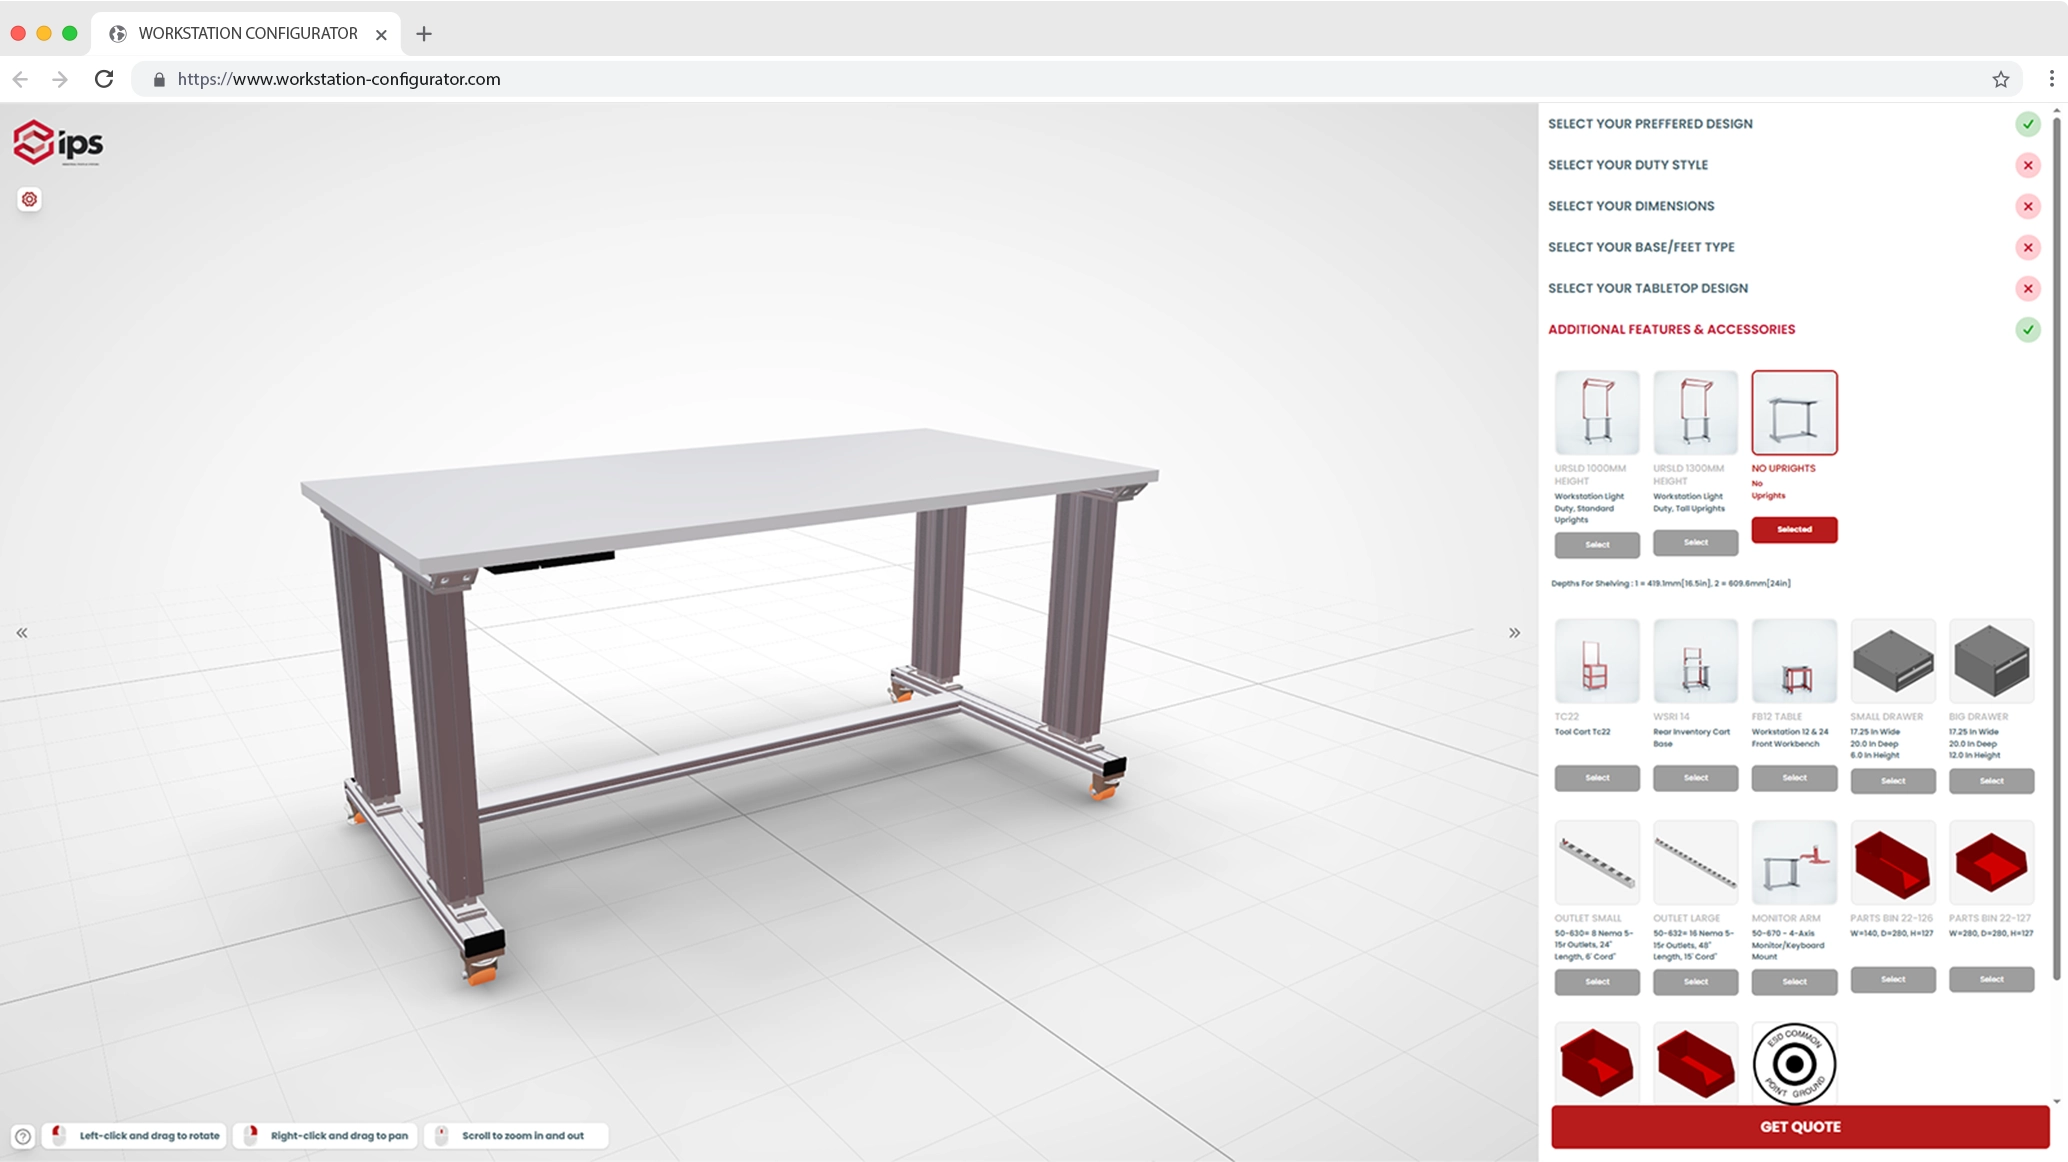
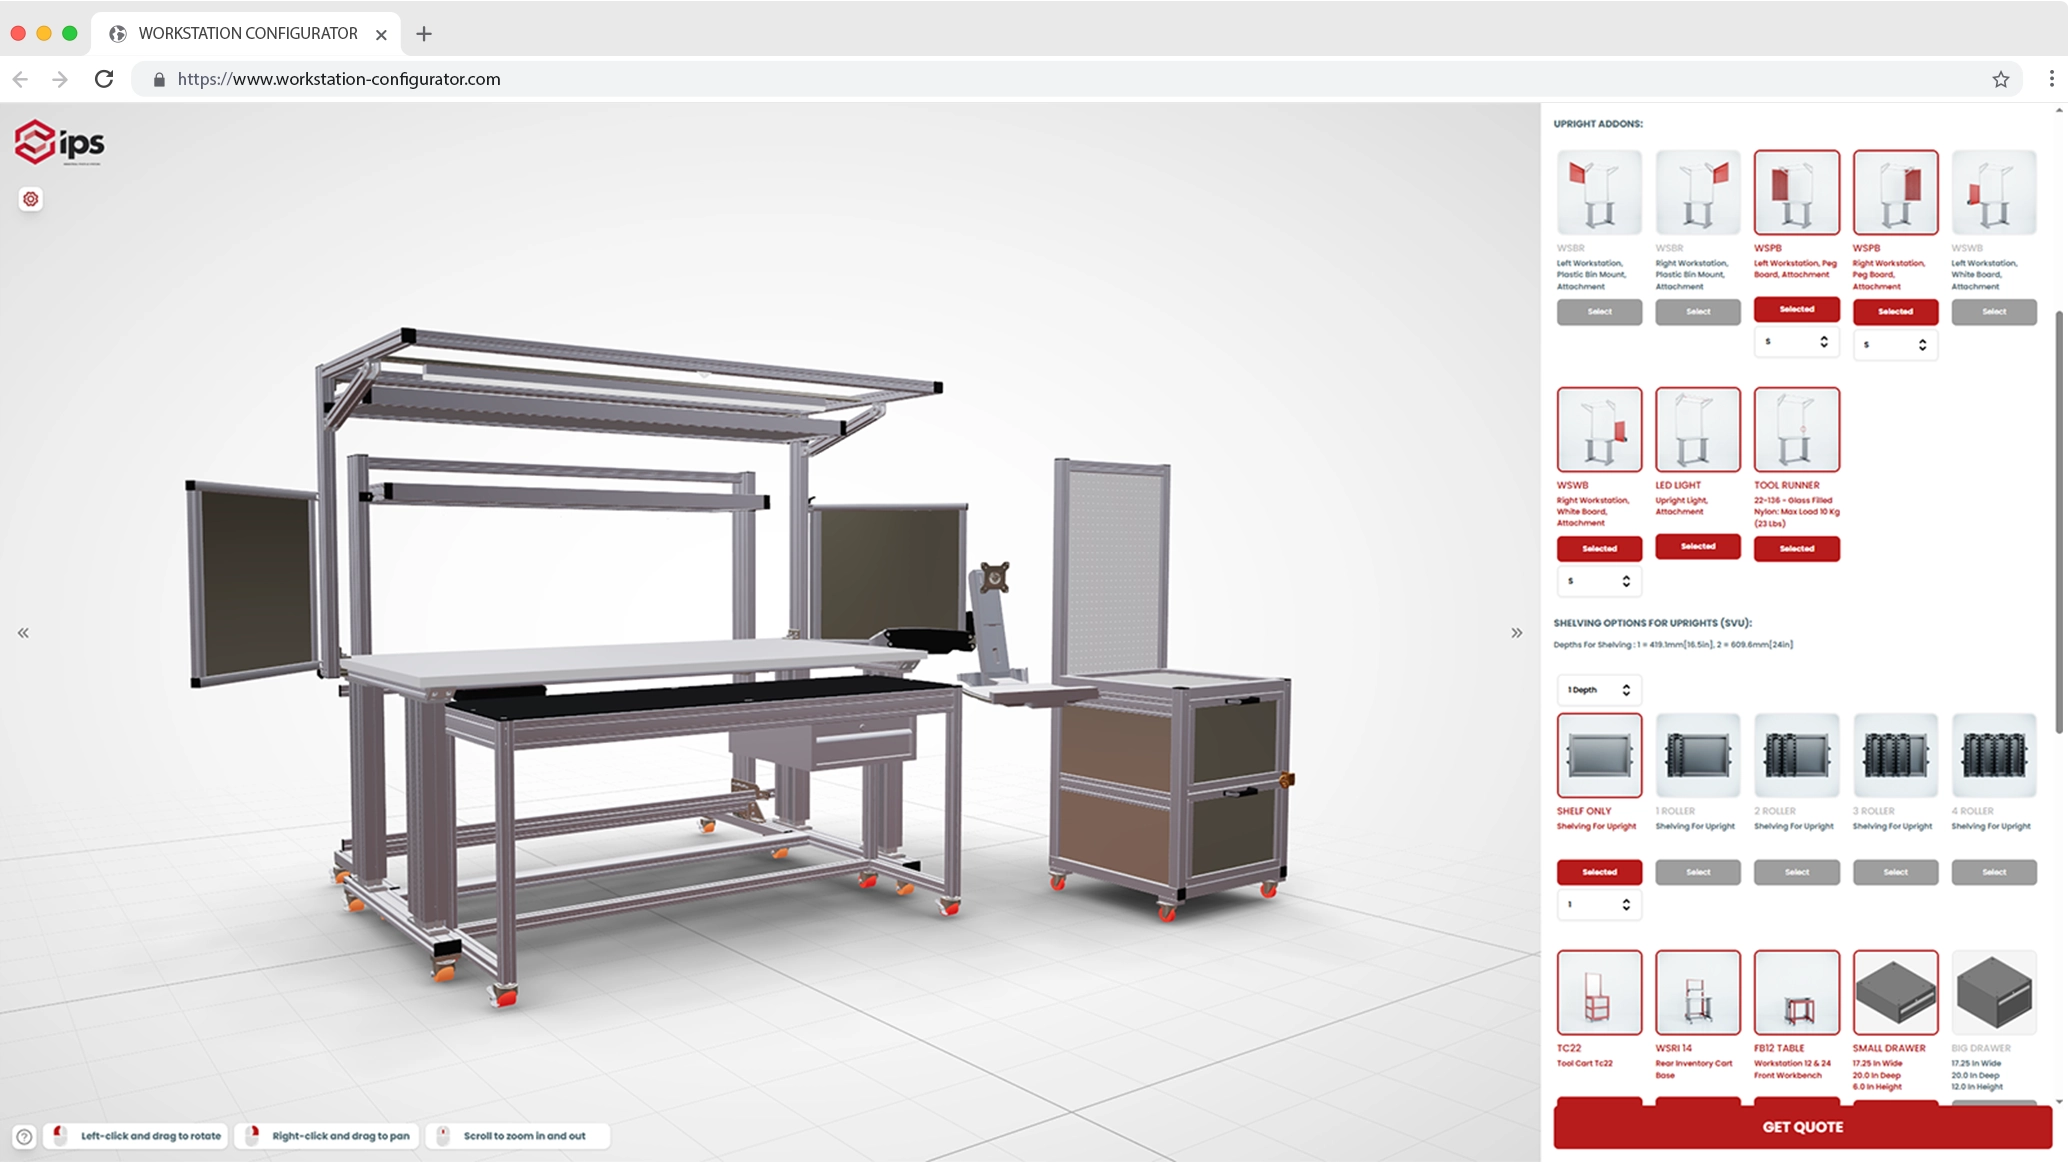
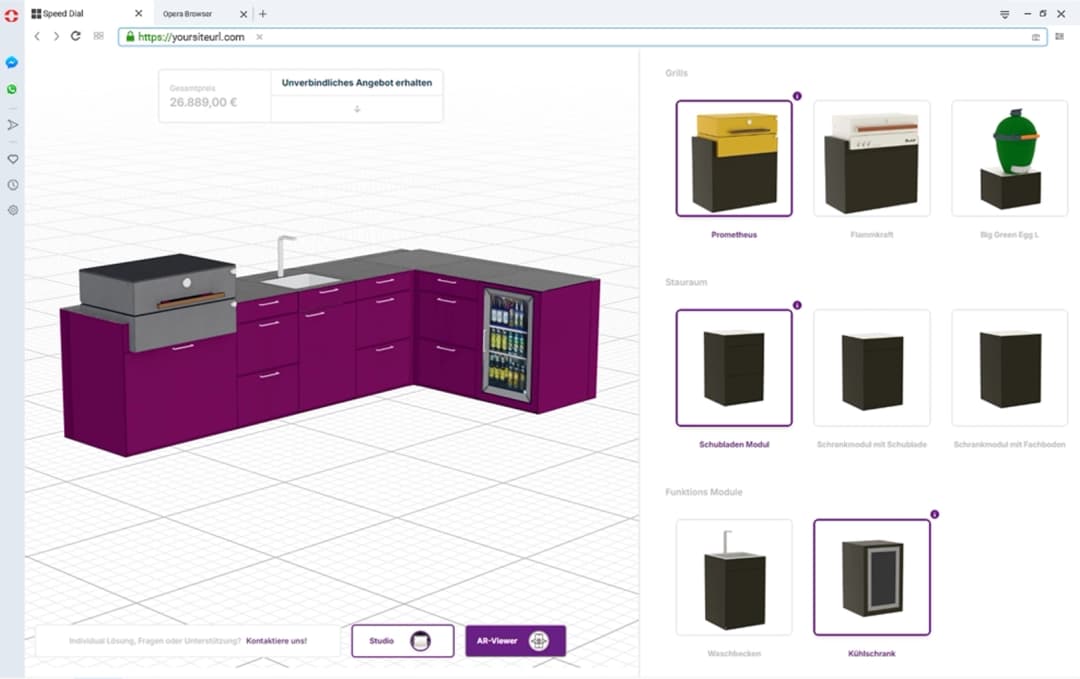
A workstation configurator is an online, interactive 3D tool that allows users to build a custom workstation by selecting components like frame types, surfaces, storage, lighting, and accessories. These systems are commonly used in manufacturing, healthcare, and laboratory settings where precision, ergonomics, and compliance matter.
Configurators from companies like IPS, Torvan Medical, and MiniTec make it easy to visualize a complete workstation with real-time updates, automated compatibility checks, and CPQ pricing integration.

Key Features of Workstation Configuration Software
Modern B2B configurators function as an online workstation builder and 3D workstation configuration tool, supporting the following capabilities:
3D Visualization and Interaction
Real-time rendering with drag-and-drop placement, rotation, and zoom. Buyers validate clearances and accessory fit inside a true-to-scale 3D workstation configuration tool before purchase.
Guided Configuration Workflow
Step-by-step component selection with dynamic filters to show only compatible parts. As a modular workbench configurator, the flow adapts to frames, uprights, power, storage, and accessories in your catalog.
Rule-Based Validation
Built-in logic prevents incompatible combinations and missing elements. MiniTec Configurator prevents submission of flawed builds, reducing rework and engineering reviews.
Automated CPQ Integration
Real-time pricing updates as users modify components, supporting budget alignment and approvals. This mirrors modern industrial workbench design software where variant pricing, discounts, and approvals are handled automatically.
CAD and PDF Export
Export BOM, CAD, and spec sheets for engineering and procurement. In a workbench CAD configurator workflow, downstream teams receive native CAD (STEP/DXF) alongside labeled PDFs and part lists for faster production handoff. IPS and Hoffmann Group include CAD downloads with quote requests.
Save, Share, Collaborate
Save configurations for later editing, share links with stakeholders, and collect feedback asynchronously. As an online workstation builder, this shortens internal review and accelerates PO creation. Torvan Medical enables sharing project specs for cross-team input.
Web-Based, No Download Required
Fully browser-based on desktop or tablet — no heavyweight installs or training required.
Ergonomics and Compliance Planning
Use an ergonomic workstation planning tool to check reach zones, seated/standing heights, ESD safety, and load limits. Medical and lab teams can attach SOPs and compliance notes to each build.
Medical-Specific Modules
For healthcare and labs, medical workstation customization software supports stainless surfaces, sinks, utility columns, and infection-control options with pre-validated templates for sterile processing or pathology.
Modular Libraries and Presets
Start from proven templates for packaging lines, assembly, or inspection. The modular workbench configurator pattern lets teams standardize best-practice setups and roll them out globally.
How to Use a Workstation Configurator (Step-by-Step)
-
Start with a Base Frame: Choose size, shape, and height-adjustability (e.g., BOSTONtec's ESD-safe adjustable frame).
-
Select Work Surface: Pick material (laminate, stainless, phenolic) and dimensions.
-
Add Storage and Uprights: Add drawers, cabinets, vertical uprights, and power panels.
-
Include Accessories: Monitor arms, pegboards, lighting, keyboard trays, etc.
-
3D Visual Review: Rotate model, zoom in/out, and check ergonomics.
-
Validate Configuration: System checks for completeness and compatibility.
-
Download Specs or Request Quote: Export CAD/PDF or submit RFQ.

Use Case: Industrial Workstations (IPS & MiniTec)
IPS (Industrial Profile Systems) offers a modular T-slot aluminum configuration tool that:
- Builds custom frames, benches, and enclosures
- Exports CAD files and spec sheets
- Streamlines production via ERP-ready exports
MiniTec's configurator enhances quoting accuracy and customer independence. In a case study, teams reported faster turnaround, fewer manual adjustments, and higher customer satisfaction.
"The tool actively prevents incorrect configurations and produces manufacturing-ready specs."
Use Case: Medical Workstations (Torvan Medical)
Torvan Medical provides ergonomic stainless steel workstations for sterile processing and pathology labs:
- Accessories include integrated lighting, utility columns, sinks, ESD mats
- Configurator enables drag-and-drop design with compliance guidance
Benefits for healthcare:
- Minimized design errors and returns
- Improved equipment fit and staff ergonomics
- Shorter procurement cycles through visual quoting
Business Benefits of Workstation Configurators
Faster Time to Quote and Build
GE Healthcare achieved an 80% reduction in quote processing time with a visual configurator (Zoovu Report). An online workstation builder reduces iterations by making options obvious, pricing instant, and documentation exportable in minutes.
Increased Order Value
Buyers spend more when they can personalize confidently in 3D. A modular workbench configurator highlights compatible accessories (lighting, storage, ESD, power) and their impact, which typically lifts average order value.
Lower Support Overhead
Real-time visual selection reduces post-purchase questions and returns. The 3D workstation configuration tool answers most "will this fit?" and "is it compatible?" concerns during configuration.
Precision-Driven Fulfillment
Automated CAD and BOM generation ensures accurate builds. With a workbench CAD configurator, production receives manufacturing-ready geometry and labeled components, eliminating manual re-entry errors.
24/7 Global Availability
Browser-based access enables self-service configuration across time zones, so teams can finalize specs and submit RFQs outside sales hours.
Better Ergonomics and Safety
Using an ergonomic workstation planning tool to validate height, reach, and posture reduces fatigue and injury risk while improving throughput and quality.
Healthcare and Lab Compliance
Medical workstation customization software simplifies adherence to sterile processing and lab requirements with stainless options, sinks, utility columns, and audit-ready documentation.
Conclusion
If your business builds or sells configurable workbenches, laboratory stations, or medical furniture — a workstation configurator isn't just helpful, it's a sales accelerator. From design through production, these tools minimize errors, shorten procurement timelines, and increase buyer confidence.
Whether you're using solutions from IPS, MiniTec, Torvan Medical, or integrating your own with a platform like Konfigear, the future of custom workstations is visual, modular, and driven by 3D configurators.

